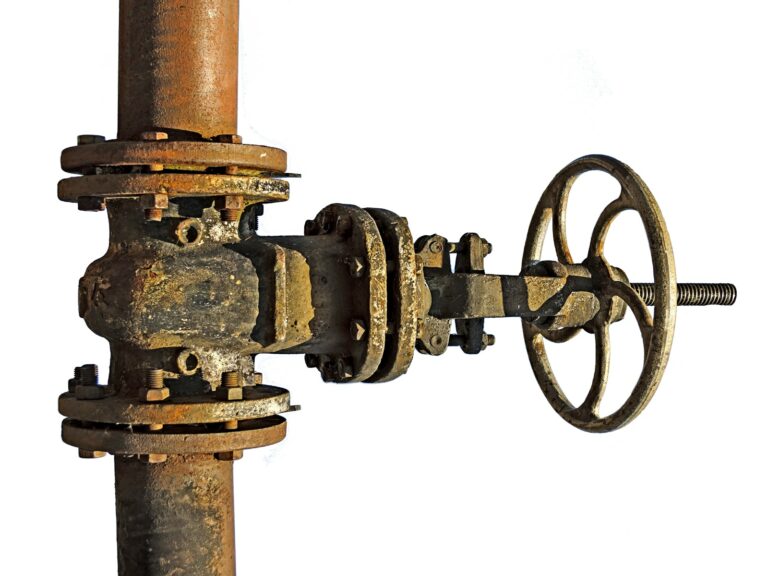
From connecting homes with free-flowing water, to precious oil and gas transportation on large and small scales, building piping systems are an example of necessary skill sets and engineering feats in today’s world. However, as a plumber, gas worker, or DIY enthusiast, setting up a perfect plumbing or gas line free from leaks is essential for a well-done job.
Therefore, getting to know the perfect process on a plumbing project guarantees a successful installation. One of the most vital and important skill sets is pipe threading. In many if not most cases, a portable pipe threader can be used that is either manual, battery operated, or plugged into an electrical outlet.
This guide will take you through that vital procedure known as pipe threading, and its importance. It will also highlight the Milwaukee cordless M18 pipe threader, and how to use it properly. We’ll highlight a step-by-step procedure of how you can thread pipes, as well as show you how to unlock the secrets of this vital skill so you can tackle any project.
What is Pipe Threading?
Pipe threading involves creating ridges and valleys (known as threads) around the end of pipes for use in connections of one pipe to another. Specialized connectors and fittings are then used to connect the threaded pipes together. Pipe threads ensure secure connections to prevent water and gas leakages, the smooth flow of water or gas, and ensures the pipes’ durability and capability to withstand pressure immersed in them.
Why You Need to Thread Pipes While Plumbing or Doing Gas Work
Properly threading pipe allows you to connect pipes in a complex system that varies from the same-sized pipes to different-sized ones. It will enable the threaded pipes to fit into another piece of the threaded pipe for continuous flow of the contents while ensuring an air-tight connection to avoid leakages. With that being said, many sizes of gas lines must be threaded or brazed. Copper is not an approved material, and silver soldering is never an approved method for making joints on gas lines.
Proper thread-piped work ensures that a reliable and functioning system is at play to help avoid damage to your home when gas leaks or water systems fail. Properly threading pipe allows for pipes to join together into a fitting with almost a lock-tight joint.
Types of Common Thread Pipes & What is the standard for pipe threading?
When it comes to pipe threading, different types of thread pipe techniques go hand-in-hand with hose and tube fittings, depending on the task at hand. The common threads used include:
- The American pipe thread NPT/NPTF
- MIP or FIP (male or female thread)
- NPT BSP(T) or BSP(S) (British standard thread)
Also note that different sizes of pipe require a different number of threads. For instance, for 3 /4″ pipe 8 or 9 usable threads are ideal.
Tools and Materials Needed for Cordless Pipe Threading
- Cordless Milwaukee M18 pipe threading machine
- Pipe cutter
- Reamers
- Pipe wrench
- Cutting oil and an oiler
- Work gloves
- Safety eyeglasses
- A stick ruler
- Permanent marker (either black or white)
- A drop bucket to catch metal fragments.
- Drop cloth for easy clean up at the completion of the project

How to Thread Pipe Your Water or Gas Lines
Here’s a step-by-step guide on how to thread pipe your water or gas lines. In many if not most cases this is done on the job site via a portable pipe threading machine.
STEP 1: Prepare Your Pipes
Understand the type of material you use for threading pipe. For instance, steel or brass pipes are stronger and hard to bend They also have a thick wall to allow for threading. While the copper variant is easier to bend but isn’t thick-walled, and cannot be threaded.
Measure and mark the desired length you want to use for your threading work. Use a stick ruler and a permanent marker of a color that contrasts with that of your pipe. Make a clean cut with a pipe cutter removing the unwanted length of the pipe.
Next, get rid of all the dirt around the pipe to get them set for the pipe threading process. You will have to also remove any ream inside the pipe with a pipe reamer. You can use either a hand reamer or a cordless pipe reamer. Ensure you’re all geared up with protective gear while undertaking this process to avoid injuries.
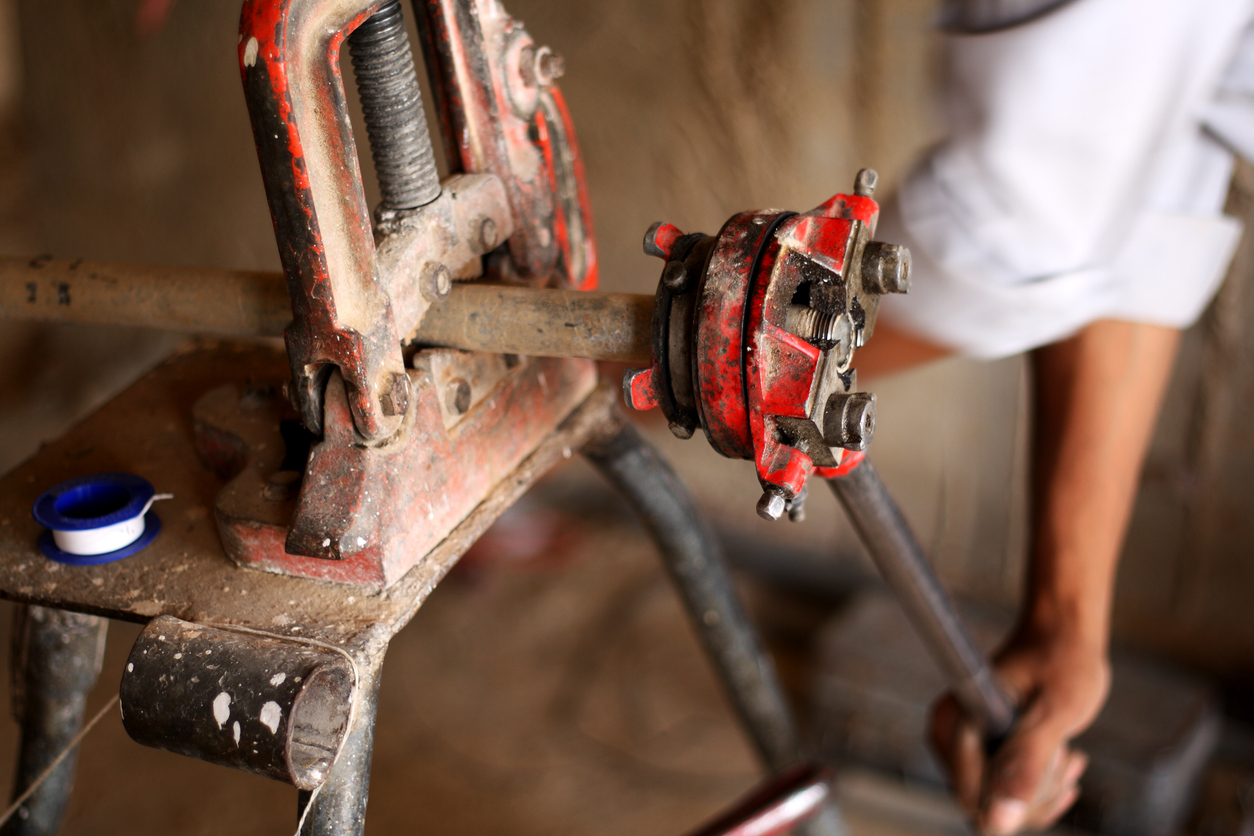
STEP 2: Secure the Pipes
Place the pipe in a secured vise if hand threading, or support the pipe properly if using a threading machine. Ensure to tighten it up to avoid any movement space when the threading process commences. .
STEP 3: Select the Right Pipe-Thread Size
Select the right die head for the pipe based on the circumference size of your pipe. You can do this by just looking at the die head, and you’ll likely find the size conveniently written there for your reference. But if you’re uncertain of the die head size to go for, don’t drain your thoughts deeply into it. Just reach out to your manufacturer or supplier, and they’ll be happy to lend a hand with their expert advice.

Also, many companies offer accessories that will help you determine the right die head for your pipe’s threading. If you’re using a Milwaukee M18 pipe threader, have it in the correct setting. For instance, if you’re pipe threading for 3/4″ pipe use the number 2 setting.
STEP 4: Oiling Your Pipe Repeatedly is Vital
Apply lubricating cutting oil on the end of the pipe before you begin the cutting process. Cutting oil ensures there is a reduction of friction while turning your die. This process must be repeated every turn or two of the pipe. If oil is not constantly applied as needed the die of the threader will overheat and burn out.
Then insert the die head perfectly and evenly on the end of the pipe, and continue to press down towards the pipe for a snug and even start to your pipe threading process. Look closely for any wobble, that could cause uneven cross threads, which would cause a failed joint.
STEP 5: Thread the Pipe
Rotate the threading machine’s handle if you are using a handheld pipe threader to turn the dies onto the pipe. Apply consistent pressure while keeping the dies perpendicular to the pipe to achieve clean and even threads. Same as an electronic pipe threader, apply cutting oil every turn or two to avoid overheating.
If you are using the Milwaukee M18 cordless pipe threading machine, mounting it correctly is vitally important. The M18 comes with a support that clamps onto the pipe to be threaded. Make sure the support rod that the M18 connects to is set at about 1 or 2 o’clock. That will provide proper support and unwanted movement once pipe threading begins.

STEP 6: Inspect the Threads
Once the threading is complete, carefully remove the pipe from the vise or threading machine. Inspect the threads for any imperfections, ensuring they are clean and uniform. Remove any excess cutting oil so that the pipe dope adheres for proper joining.
If you have used a Milwaukee cordless pipe threader you want threads to protrude about 1 or 2 threads past the die of the pipe threader. That would provide you with the ideal 8 or 9 pipe threads needed for a tight seal.
STEP 7: Seal Your Pipes
This is the last and final step that’s vital to ensure the pipe connections are protected against leaks, corrosion, and pressure they’ll be subjected to over time. You can use Teflon tape or pipe dope for this activity. Note that if if these pipes are to be used for gas lines you cannot use Teflon tape, only pipe dope is permitted. If you’ve made nice clean and crisp threads, and the proper number of them, you’ll be surprised at how few turns you’ll need with a wrench. After hand tightening, you might only need 2 or 3 turns with a wrench for a leak-free joint.

Final Thought About Pipe Threading
Pipe threading for plumbing or gas work doesn’t have to be a hard affair. It’s only a matter of practice for beginners and having the right set of tools and materials to accomplish the task. Of course, it also involves some basic knowledge and safe practices.
We believe that with this step-by-step process, you’ll be able to perform exemplary work on your project or for your clients. Just remember to use approved pipes that are free from rust and debris. If you plan on doing quite a bit of pipe threading, you might consider purchasing the Milwaukee M18 pipe threading machine featured in this article and accompanying videos. It will save you time and energy during the entire process, you’ll just need to decide if it is cost-effective for your projects.
If you have any plumbing-related issues in the NYC area, don’t hesitate to contact us at Team Balkan. We have trusted and licensed professionals to provide free and no-obligation site visits that can help you out. We are here to help you find the best solution for your plumbing needs, and have a proud company history of doing so.
You can also learn a whole variety of plumbing skills and get useful tips by subscribing to our Youtube channel. We’ve got you covered!